Exterior Painting
5 Common Exterior Painting Mistakes Homeowners Make (and How to Avoid Them)
Avoid the most costly exterior painting mistakes Western MA homeowners make. Learn what goes wrong and how to get a finish that lasts through New England winters.
Why Exterior Paint Jobs Fail Before They Should
A quality exterior paint job should last eight to twelve years. But walk through any neighborhood in Agawam or West Springfield and you will spot peeling siding, chalky finishes, and bubbling paint on houses that were repainted just a few years ago. The cause is rarely cheap paint. Almost always, the failure traces back to one of a handful of mistakes made before or during the job. Knowing what they are puts you in a much better position — whether you are doing this yourself or hiring someone.
Mistake 1: Skipping or Rushing Surface Preparation
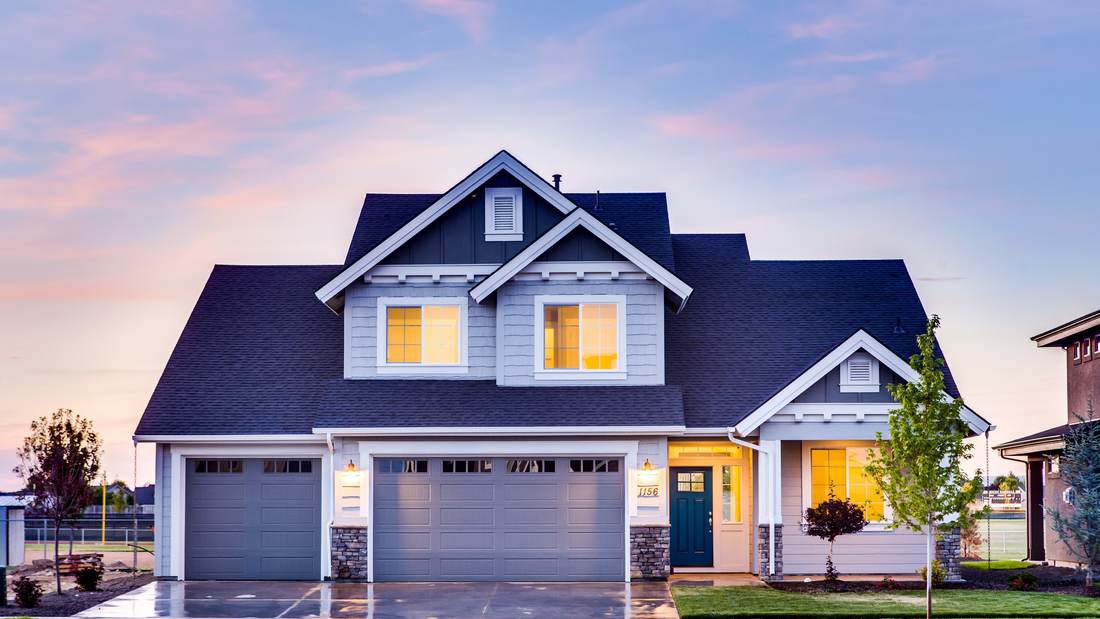
Preparation is where most exterior paint jobs are won or lost, and it is the step homeowners are most likely to shortcut. Painting over dirty, chalky, or peeling surfaces creates a weak bond between the new coat and the substrate. Moisture, dirt, mildew, and old loose paint all prevent adhesion.
Before any paint touches your siding, the surface needs to be cleaned thoroughly — pressure washing is effective, but the siding must dry completely afterward. In Western Massachusetts, that means watching the forecast. Painting over damp wood is one of the fastest ways to cause premature peeling. After cleaning, scrape away any loose paint, sand rough edges smooth, and fill cracks or gaps with exterior-grade caulk. This process takes time, but it is the single most important factor in how long your finish lasts.
Mistake 2: Ignoring Weather and Temperature Windows
New England's climate makes timing critical. Most exterior paints require air and surface temperatures above 50 degrees Fahrenheit during application and for several hours after. Painting on a cold October afternoon in Holyoke or Southampton — even if it looks like a nice day — can cause the paint to cure improperly, leading to cracking and poor adhesion within one season.
Humidity matters just as much as temperature. High humidity slows drying time and can trap moisture under the film. Avoid painting in direct, intense sunlight as well — hot surfaces cause the paint to dry too fast, leaving lap marks and an uneven finish. The ideal window is a dry day between 50 and 85 degrees with low humidity and overcast or indirect light. In Western MA, that window runs reliably from late May through early October.
Would you rather we handled it? Estimates are always free.
Get a Free EstimateMistake 3: Choosing the Wrong Paint or Skipping Primer
Not all exterior paints are created equal, and selecting the wrong product for your substrate is a common and costly error. Wood, fiber cement, stucco, and masonry each have different porosity and expansion rates. A paint formulated for one surface may not perform well on another.
Primer is not optional on bare or repainted surfaces. It seals the substrate, improves adhesion, and gives topcoats something consistent to grip. Skipping primer to save time or money almost always costs more in the long run — you end up repainting sooner. Sherwin-Williams recommends using a primer matched to both the substrate and the topcoat system you choose. If you are working with older wood that has bled tannins or knots, a stain-blocking primer is especially important.
For homes built before 1978, there is an additional layer of caution. the EPA regulates how lead-based paint must be handled when you disturb or paint over it. This applies to both DIY work and hired contractors, so know your home's age before you start scraping.
Mistake 4: Applying Too Much Paint Too Quickly
Thick coats feel like progress, but they are one of the leading causes of sagging, dripping, and long-term peeling. Exterior paint is engineered to be applied in thin, even layers. Two thin coats will always outperform one thick one — they cure more evenly, bond more completely, and flex better through freeze-thaw cycles.
The same principle applies to drying time between coats. Rushing a second coat onto a first coat that has not fully dried traps solvents and moisture under the film. Always follow the manufacturer's recoat window, and add time when conditions are cooler or more humid than the label assumes. For our exterior painting service, this patience during application is what separates a three-year paint job from a ten-year one.
Mistake 5: Neglecting Caulk, Trim, and Problem Areas
Gaps around windows, doors, trim boards, and where siding meets a different material are the entry points for water. Water intrusion behind the paint film is the primary driver of peeling and wood rot — and it is completely preventable. Before painting, every gap wider than a hairline should be filled with a paintable, exterior-grade caulk.
Trim is also frequently underserved. Homeowners sometimes paint the body of the house carefully and rush through the trim, applying uneven coverage on the edges and end grain where moisture gets in first. End grain on wood trim absorbs far more paint than face grain and should receive an extra coat. Take the time to do corners, soffits, and fascia boards properly — these areas take the hardest weather beating, especially during Western Massachusetts winters.
Frequently Asked Questions
How long should I wait after pressure washing before painting?
You should wait at least 24 to 48 hours after pressure washing, and longer in cool or humid weather. The goal is for the surface to be completely dry to the touch and throughout the wood. Painting over any residual moisture is one of the leading causes of early peeling.
Can I paint the exterior of my house in early spring in Massachusetts?
Yes, but you need to monitor temperatures carefully. Most exterior paints require sustained temperatures above 50 degrees Fahrenheit, and nights in April across Western MA can still dip well below that. Wait for a stable stretch of warm days and check both the daytime high and the overnight low before starting.
Do I always need primer before exterior painting?
On bare wood, previously unpainted surfaces, or areas where you have scraped down to raw material, primer is essential. On a surface in good condition being repainted with the same color family, a self-priming topcoat may be sufficient, but consult the product specifications for your specific situation.
How do I know if my old paint contains lead?
If your home was built before 1978, it may have lead-based paint. Inexpensive test kits are available at hardware stores, or you can hire a certified inspector to assess the surface. the EPA has guidelines on safe practices for disturbing or painting over lead paint, which apply whether you hire a contractor or do the work yourself.
How many coats of exterior paint does a house typically need?
Most exterior paint jobs require two finish coats over a primed surface. A single coat rarely provides adequate coverage, UV protection, or durability — especially on porous surfaces or when making a significant color change. Two thin coats will always give you a more durable and better-looking result than one heavy coat.
They Also Read
5 Signs It's Time to Repaint Your Home's Exterior
Fading paint, peeling edges, and rising energy bills are warning signs. Learn the 5 signals that tell Western...
Read more →
How Much Does Exterior Painting Cost in Western Massachusetts?
Wondering what exterior painting costs in Western MA? Get real price ranges, key cost factors, and tips to...
Read more →Ready for a free estimate?
Tell us about your project and we will get you a straight answer on price and timing.